

Slam, Punch, Smash – Impacts: Spicy Game Audio Secrets(not really)

Most libraries nowadays come bundled with fantastic sounding impacts, from crunchy thuds to low frequency booms. It seems almost pointless to create your own. But I believe subtlety, variation and context go a long way in designing for games. As I mentioned in a previous article about recording your own source material, unlike linear audio, your sounds need to hold up to repetition. You might have people playing your game for several hours at a stretch. Designing things from scratch is a great way keep an eye on that ear fatigue meter.
Making impacts is also a fun way to dip your toes into creative signal processing. You can get some great results with almost any source.
The first method I want to talk about is purely BRUTE FORCE! Transient shapers, clippers, saturation and dynamics processing. You can basically record anything and process it to death for some wild impacts.
Brute Force Impact Processing
1.Record some source material:
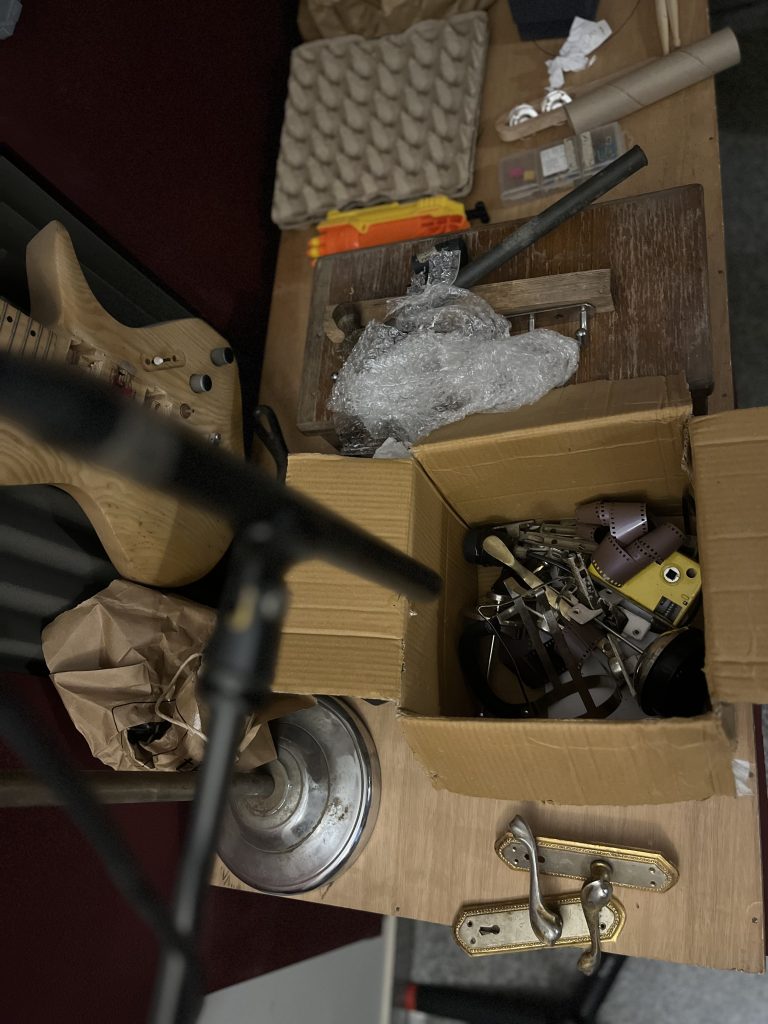
- I’m recording stuff that can provide me with “movement”. In this case it’s a cardboard box with some random mostly metallic objects in it. I’m pointing a shotgun mic right down into the box and rattling it.
- Optionally, I might widen the source with some chorus or chorus like effects to start with.
2.Volume Boost and Sweetening:
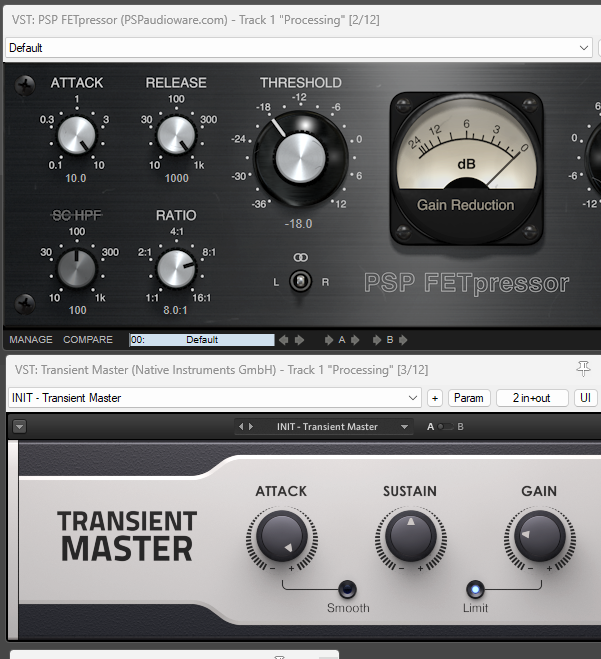
- I use a 1176 style compressor with a slow attack and release to really bring out that initial transient. My go-to is Fetpressor by PSP, but any compressor that can create a snappy attack will do. Here’s a great free one from Audio Damage. Depending on the compressor used at this stage, it might add some harmonic content. I’ll need to watch out for that later when I throw saturation into the mix.
- Next are transient designers. Any transient designer will do. How I set it up depends on the plugin. With Transient Master from Native Instruments, for example, I tend to leave the attack all the way up and compensate for the volume boost by reducing the gain. But, with a fiddly plugin that offers more options, I might go with a subtler approach.
- The Kilohearts Transientshaper and BitterSweet from Flux are great free transient shapers.
3.Multiple Transient Designers:
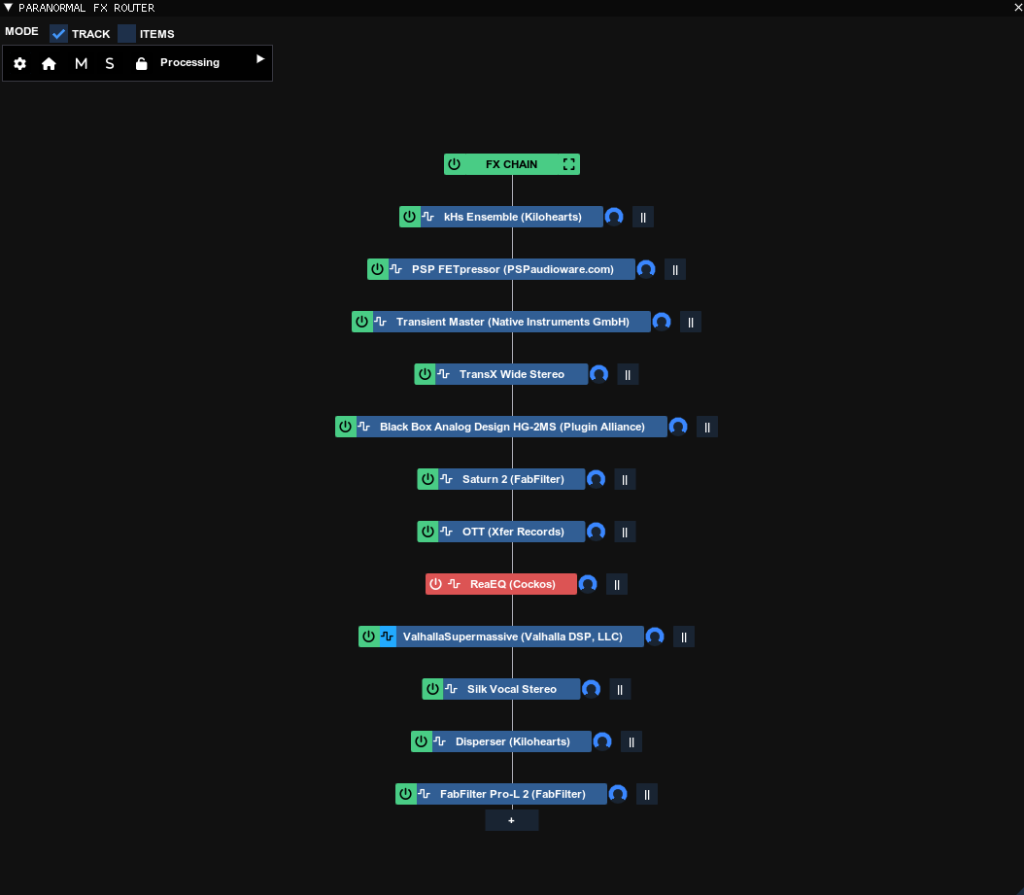
- Next, I layer Transient Designers with varied attack and sustain settings.
- If you’re a Reaper user, the Paranormal FX Router Script might come in handy to visualise and fine-tune your chains.
4.Clipping and Harmonic Generation:
- I then apply clipping to tame those peaks and saturation for added harmonics and colour.
5.Final Processing & Housekeeping:
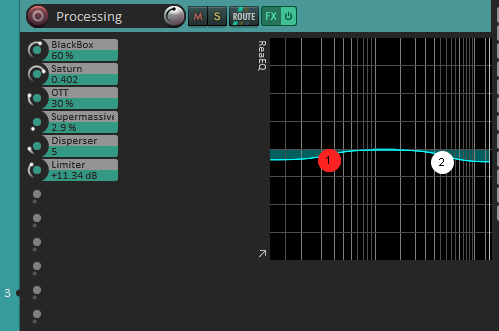
- To finish things off I slap a limiter at the end of the chain to bring the level back up to where I want it.
- At this point, I like to expose the most frequently used parameters in the track panel. The next time I load the chain, I have all the setting I want right there.
Once The Smoke Clears And The Impacts Are Cooking
At this point broad strokes are in place and I have a working chain, I save it and tweak away. The goal is to achieve a punchy and satisfying result. Each transient plugin may add a unique flavor to the sound, so it’s important to experiment. I might even record new sources into the chain and audition them on the fly. It’s mostly trial and error from this point on until I have something that works for me.